Pages

June 27, 2020

Summer dress

There's no season like summer to have me craving for dresses. When I saw this fabric in the shop, I could not refrain from buying it and making myself a summer dress. Here's how it went.
What I used: fabric, scissors, needle and thread, sewing machine and a button.

Usually, I try and copy the dress cut of a particular dress, but this time I decided upon doing things differently.

1. I cut the fabric into two parts (for the back and front). I bought 1.5 m so there were plenty leftovers.
2. I sewed the seam for all the parts, except for the lower ones (I left the decision about how long the dress would be at the end).
3. Then, I pinned the front and back parts to each other (make sure you pin the fabric with the inside towards you, like in the picture below). I wanted a cowl cleavage for the dress and hence the pinning below.
4. Afterwards, I put the dress on and used the pins to mark for the seams.


5. For the front part, I sewed a button to match the fabric. And yes, I sewed it manually while I was wearing the dress.


6. I determined the length of the dress. I surely did not want a classic hem, so I made the front part smaller than the back.
7. The dress.

December 24, 2019

Sister Skirts

My mom came with the idea after she gave me this fabric, that I should make my sister and I some skirts from it.
Well, I must admit. This was not an ordinary project. One, because the fabric once belonged to my grandmother (so it has a lot of significance); and two, I did not take measures (for any of us, my sister or I).
Like mom used to say, you cut it and then you sew it. That somehow summs this project. But then, this does not make me any less proud to show you these skirts.
Here we go! If you want to make a similar project, then follow the steps below:

1. Select a skirt that fits you right and cut the fabric accordingly (but make sure to leave some seam allowance).
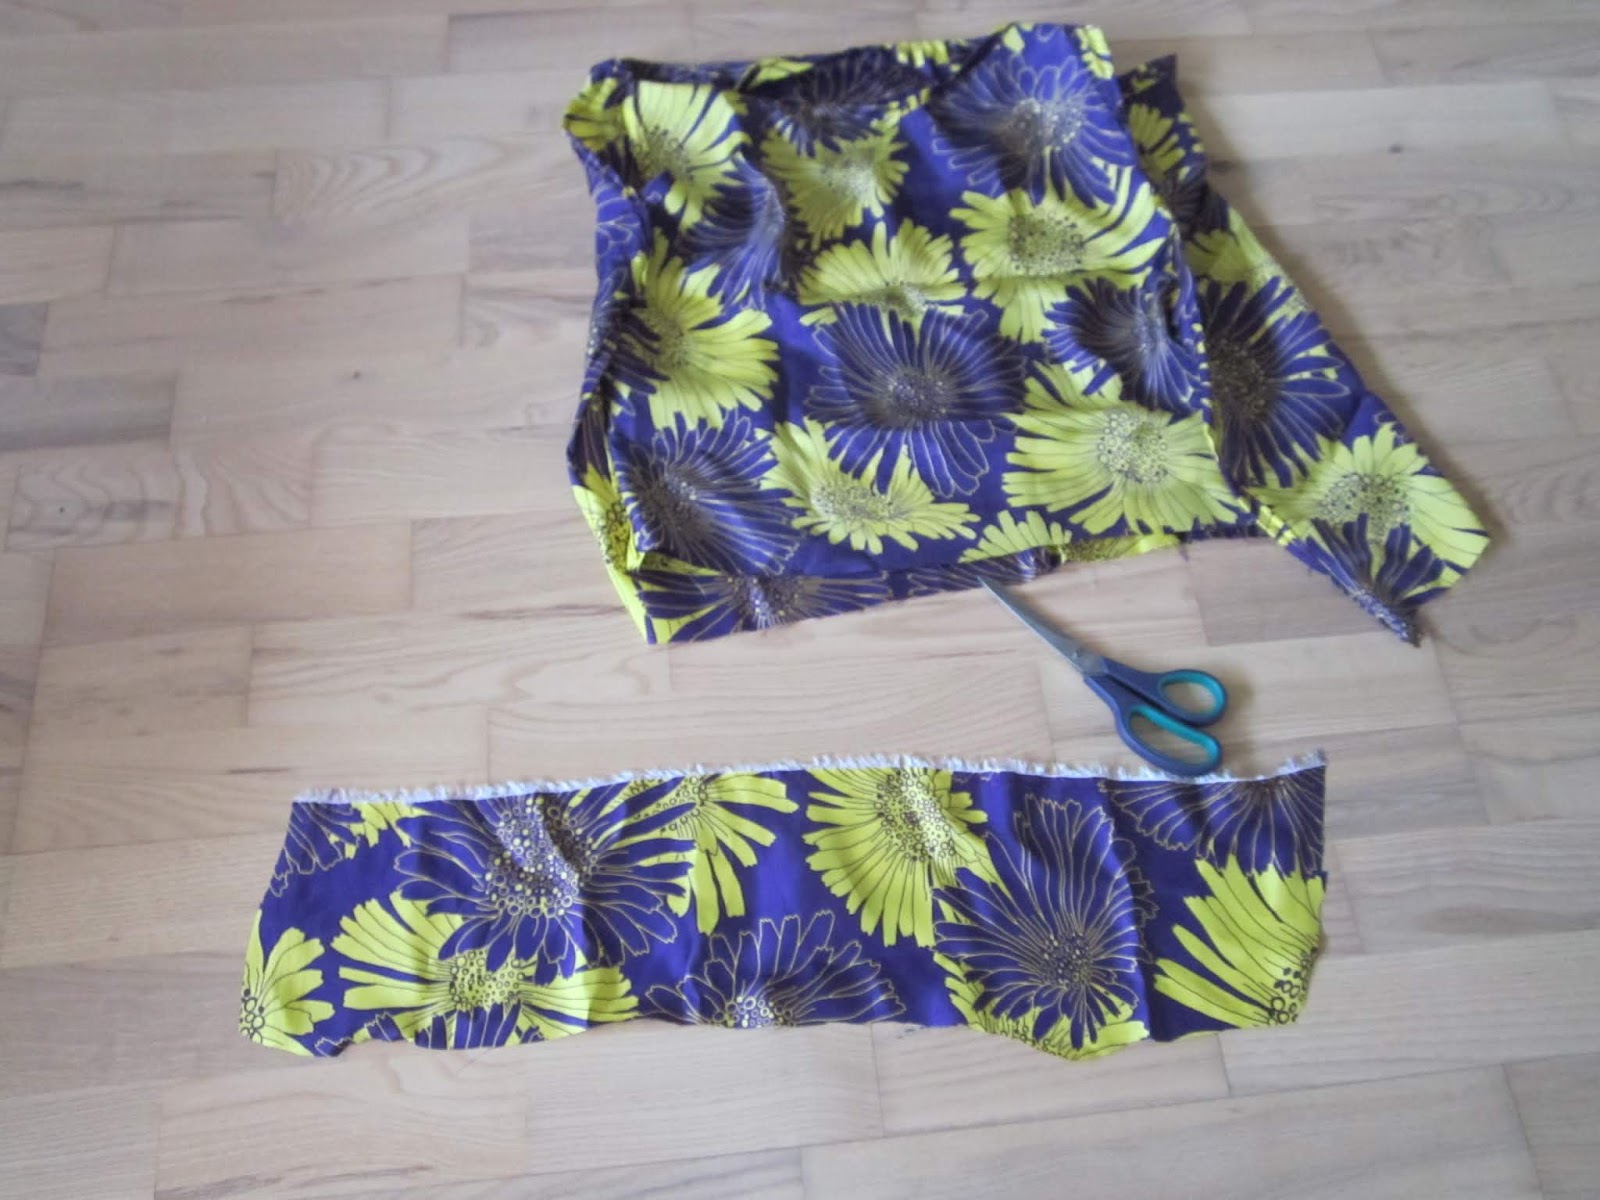
2. Cut fabric for both front and back of the skirt.
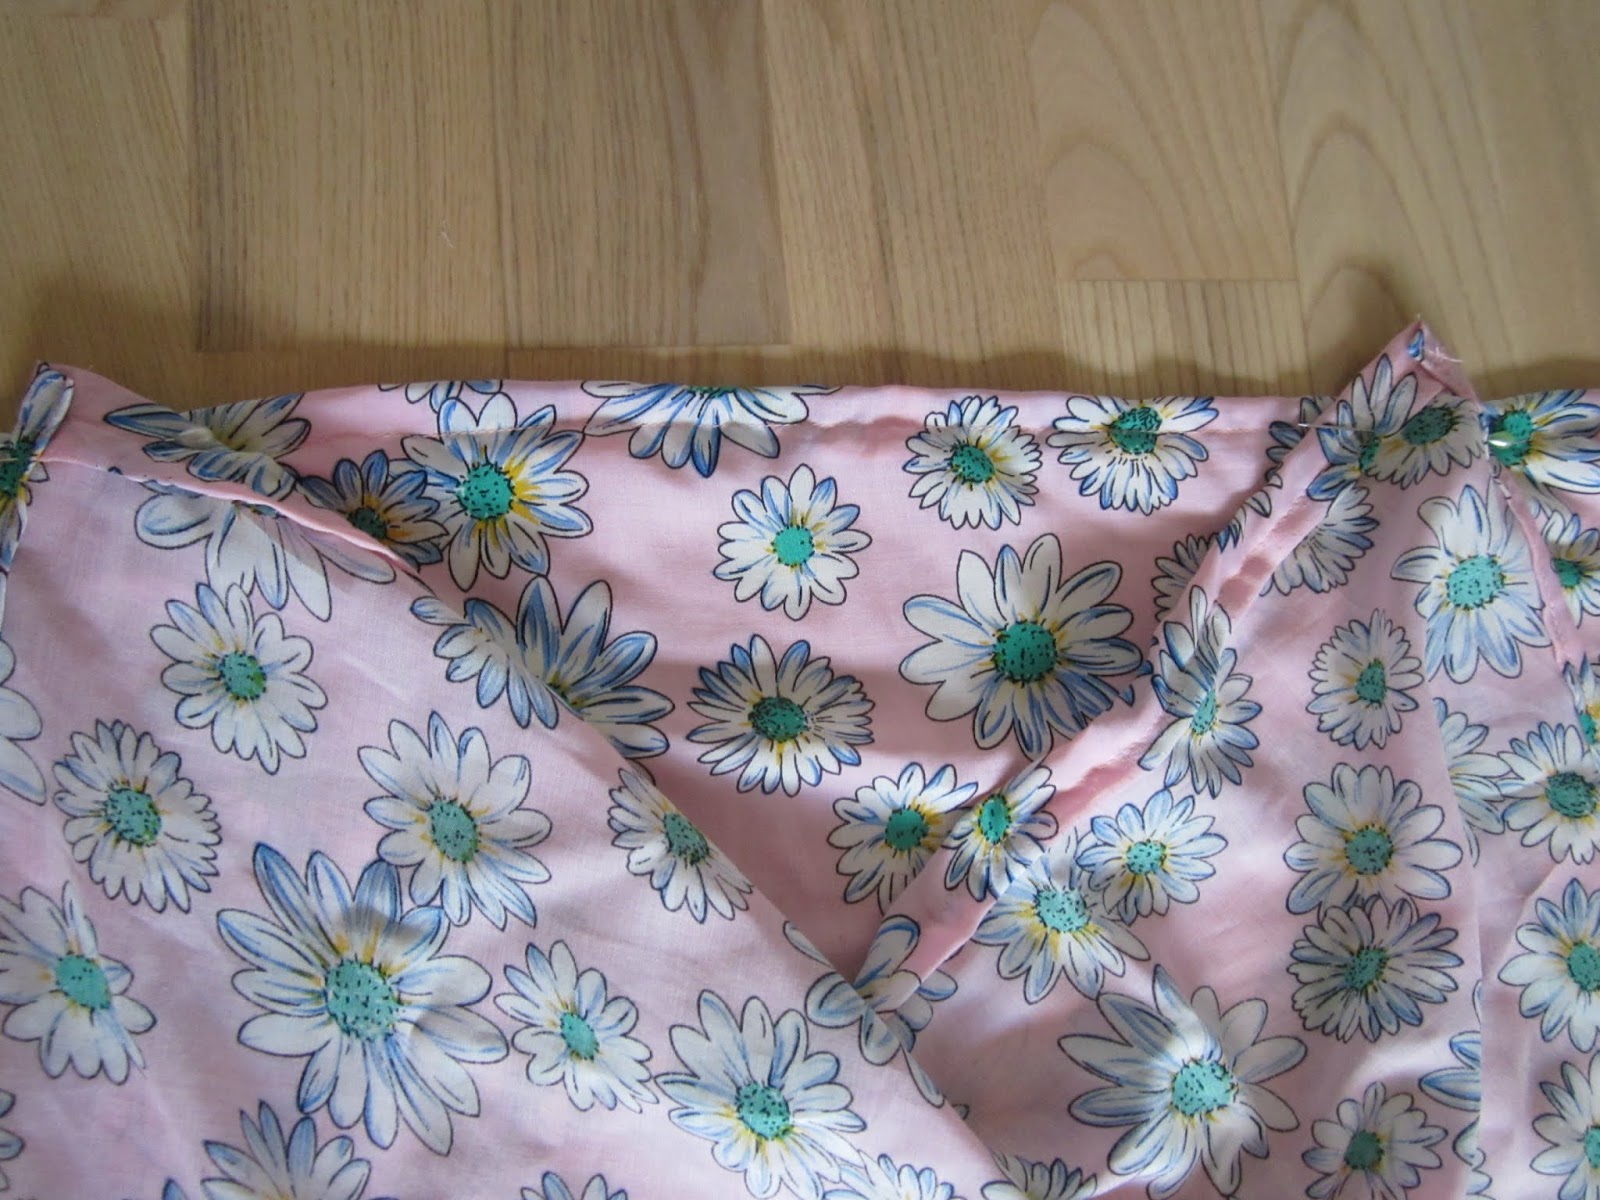
3. I let the backside rest, and start working on the frontside. Since we both love pockets, I cut two different pieces for each skirt.
4. Before sewing the pockets on the skirt, I sewed the seam.
5. For the waistline, I just cut some fabric considering the waist of the skirt.
6. Then, I sewed it onto the skirt.
7. I used some pins to fix the pockets, and then sewed by using an embroidery stitch on my machine.


8. There you go. The front parts are ready.
9. You can go and sew the waistline for the backside, following the steps for the front one. Then, pin the zipper to the front and sew it.
10. Once this is done, pin the backside to the zipper and sew it. After that, make sure to sew the seam according to how the skirt best fits you. Then, start working on the hem line. Put the pins and sew.

11. I did not want an ordinary hem line, but you can make it as you wish. Here they are, the two sister skirts.


September 21, 2019

Perfect Men's Shirt

You all know by now that I really enjoy reusing stuff. Well, recycling men's shirt seems just a good idea as any.
Here's my second project (the first one is here) involving a man's shirt.

What you'll need:
- a man's shirt, scissors, needle and thread, and patience

! You do not need a lot of sewing skills to do this makeover. Take your time and be kind to yourself. Ah, and reinvent. You'll be amazed with what you'll achieve.

1. The shirt (without the collar for I used it for something else).
2. The tools.
3. The stitch. Well, there are a lot of embroidery stitches out there. I chose something simple. But you can go wild, if you want!
4. As you already know, men's arms are bigger than women's. I sew the extra fabric of the sleeves inside-out.

5. I had to do something to the back of the shirt, and decided to make two tucks.

6. And voila: the perfect men's shirt for a woman.

August 23, 2019

DIY Blouse

I had this fabric for a while now, and decided it was high time I made something beautiful out of it. A blouse seemed just the perfect thing to do.

What you need 
- a T-shirt, a pair of scissors, needle and thread, and some pins

Like all non-professionals, one has to make ends meet. So, for this particular DIY project, choose one of your best fitting T-shirts and cut the fabric accordingly, leaving enough space for seam and a centimeter besides this (in case your measuring was not perfect :) ).

First, cut the front part of your to-be blouse, and then cut the back one (larger than the front part).
Then, go around the two parts and sew all seams so that it is easier for you afterwards.
After this, sew the two parts only at the shoulder level. This is how you will make sure that in case the fabric is too short or too long, you can easily make adjustments. Then sew on the sides.
Cut another piece of fabric in order to make a front band.


Then, sew it on the front side of the blouse. You're done. Now go and show it to the world.


August 14, 2019

DIY Jewelry

You know I am a big fan of the handmade jewelry.
Here is my latest DIY jewelry project. Hope you'll get some inspiration from it!

What I used
- scissors, needle and thread, a piece of green velvet fabric, a button, and a chain
The pendant
I wanted to make a heart-shaped pendant, so I paid special attention when sewing the fabric. Also, you must consider the size of the fabric. The larger the piece of fabric, the larger the pendant. It's your choice.

Once the shape was obtained, I went further and sewed the button onto it.

And the end result of my DIY project:
I wanted to keep it simple and so I used thread as loop for the pendant, but you can use a metal loop if this suits you better.
This project was really fun and easy to make. You should really try making this piece of jewelry for yourself, or for your friends.

August 09, 2019

Blue ink

Remember when you were kids and got all of your clothes covered in ink?
Well, I tell you, somehow issues like this still happen when you're adults.
Back then we were too young to come up with solutions, but now I am glad to have been offered the chance to fix an inky problem.

The blouse
What I used
- scissors, needle and thread, and a lot of buttons.

It's a rather easy job, since all you have to do is to figure out where to sew the buttons in order to cover the ink stains. You can go wild, there are absolutely no limitations to your sewing.

What I did
My main focus was to cover the big ink stains. There were also parts were the ink was faded and I did not cover them all.
I started by sewing the big buttons onto the big stains, and sewed the small buttons around them.
One button after the other, the stains were no longer visible, and now the blouse looks like this.

Hope you'll find this helpful and should you have an accident involving ink, don't throw your clothes away!