Pages

May 23, 2017

How to prolong the life of your favourite print

My T-shirt was ruined, but I couldn't just throw it away. So I cut around the print and considered reusing it.
That time has come. I used my new black simple T-shirt. And also some pins.

My ironing board was very useful in order to keep the fabric of the T-shirt well flat. I pinned the margins of the fabric before sewing it.

Like I always say, you can sew by hand if you have enough patience and time. This time, I sewed by using the sewing machine.
And here it is: my new black T-shirt with my favourite old print.


May 19, 2017

DIY Birthday Card

For my nephew’s birthday, I wanted something special. A personalized birthday card seemed right.
What I used:
  - a piece of cardboard
  - acrylic paint
 -  glue
 -  a textile piece cut in the shape of squirrel
 - a round piece of Trolls cardboard
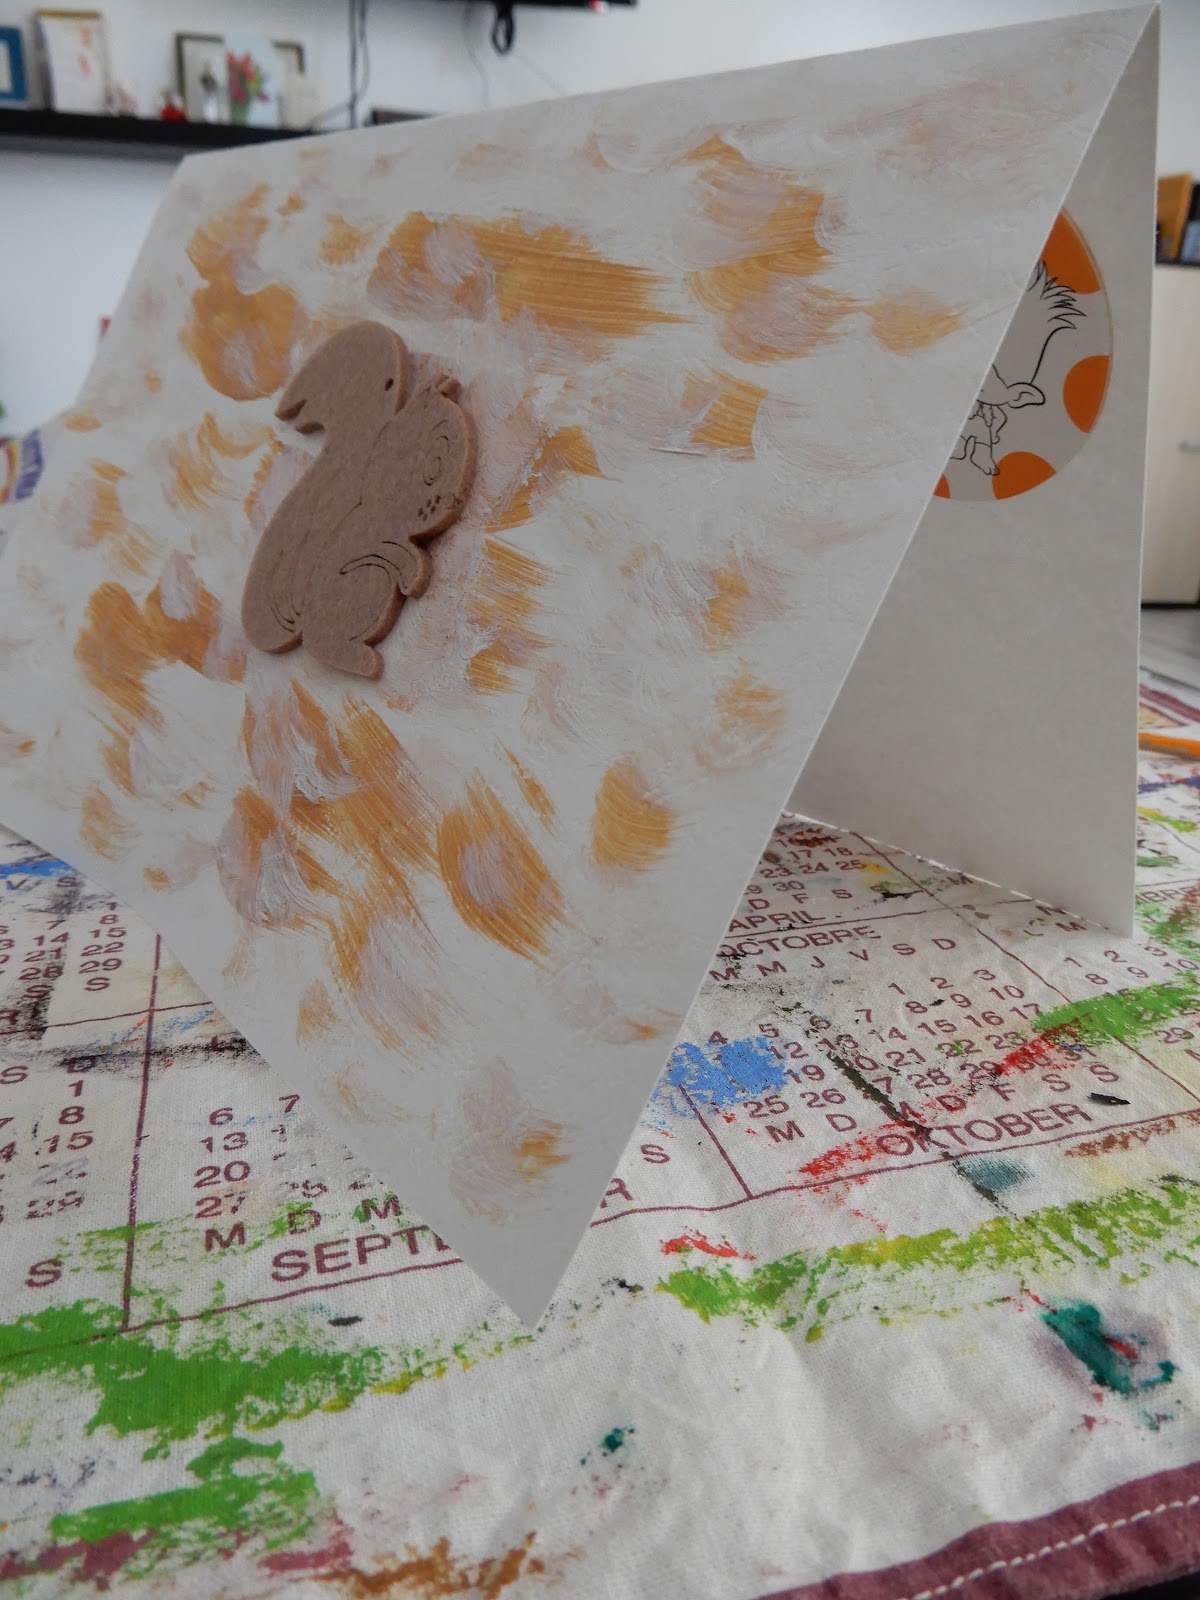
First, I doubled over the piece of cardboard.
Then, I applied some acrylic paint on the front page. White and golden acrylic paint.

I glued the textile piece in the shape of squirrel.
Inside the cardboard, I glued the round piece.

The squirrel birthday card is ready.

April 25, 2017

DIY Home Decoration

I'm into squirrels. You got that, right?!
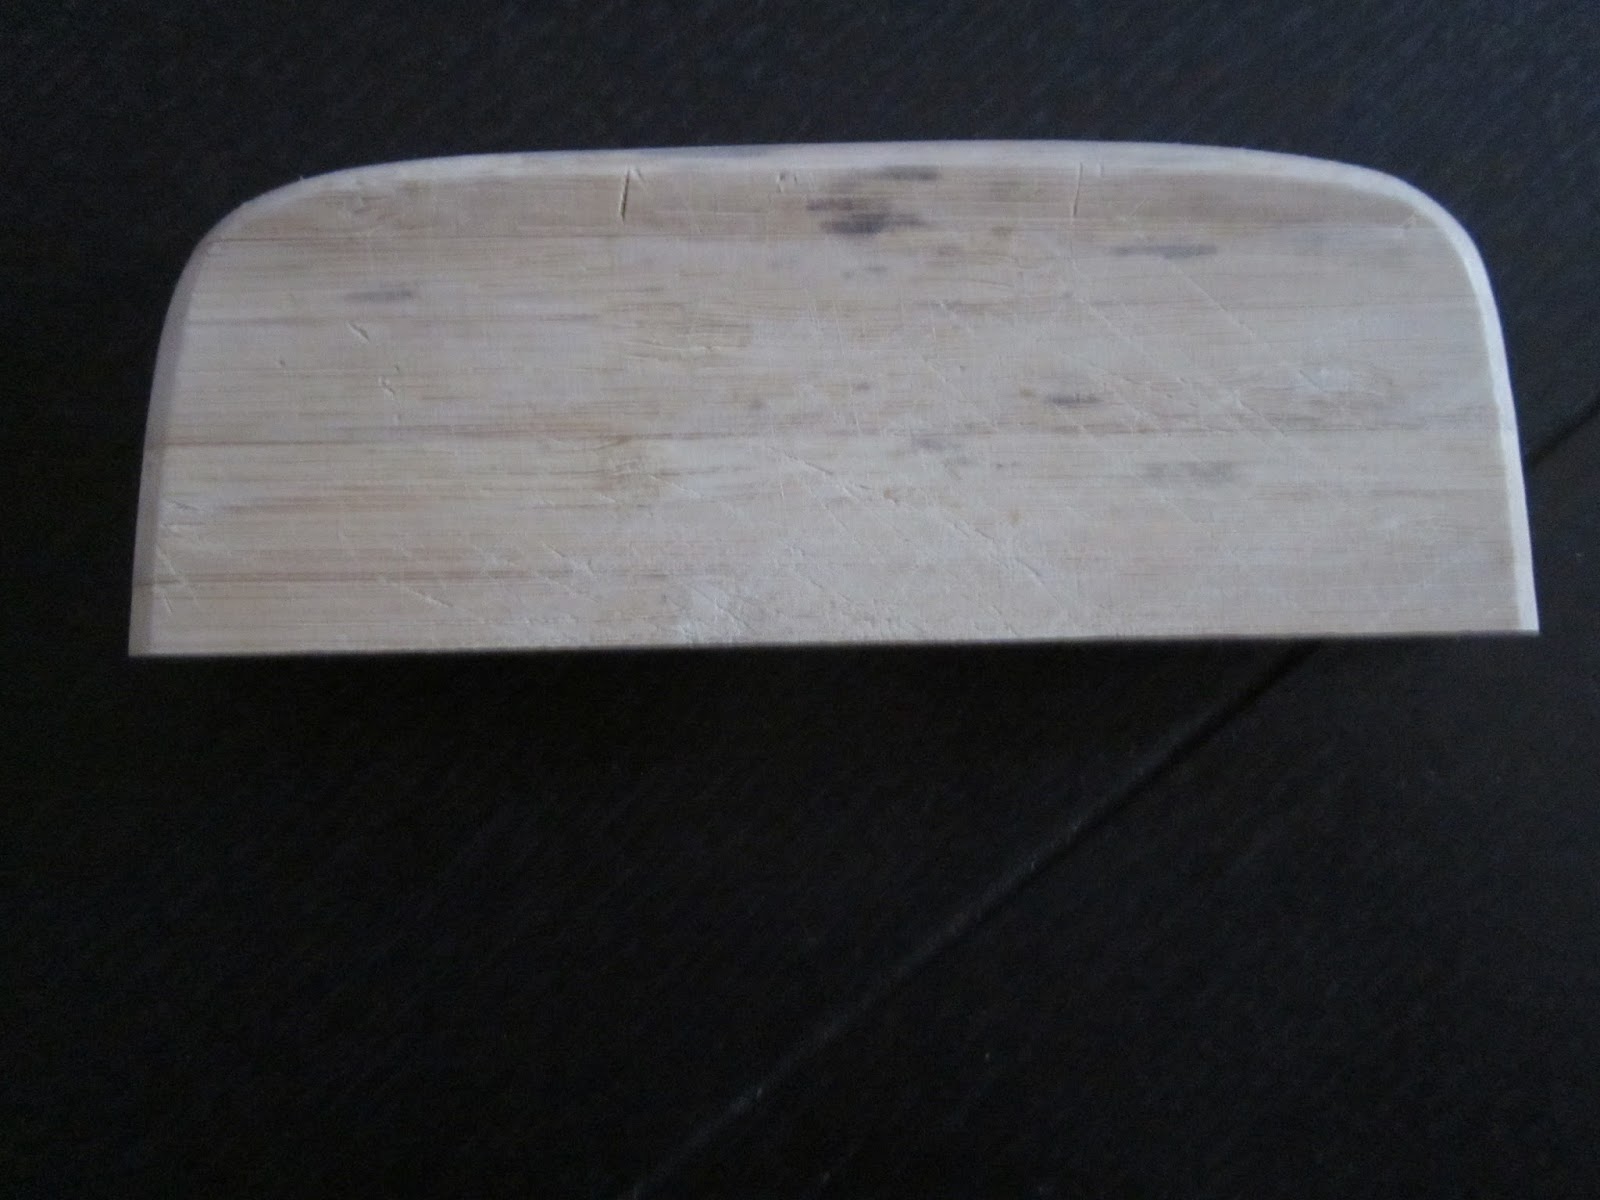
I found this piece of wood laying around the house so I thought about giving it a touch of color.
Here's what you need in case you feel like playing the artist as well:
- a piece of wood
- acrylic paint, glue
- some stickers or cute things you'd like to use


1. I first cleaned the wood with a gentle cloth.
2. I gathered the stickers (in this case, candy package), the glue, the scissors and the acrylic paint.

3. I mixed violet, red and white paint and then painted the wood with it.
4. After I cut the edges of the package, I glued the squirrel and a green ribbon. In order for the plastic ribbon to stick better to the wood, I clued in-between a piece of paper.
5. Ta-daaa!


April 07, 2017

DIY Chocker

Chockers are back in style. Here is an easy way to make your own.
These are the things that I used, but you can go and be as creative as you want with the materials you've got around the house.
1. some of my magic music ribbon
2. some adornments I bought in a mercery shop
3. one shoulder pad
4. white thread and scissors

Below, I'll give you the basic steps:
1. Start by sewing the margins of the ribbon
2. Sew the adornments on the shoulder pad.

3. Then, sew the ribbons at the margins of the shoulder pad.
4. And the beautiful result.

February 06, 2017

DIY Painting Project

I am very much dedicated to reusing stuff. Probably, you have already noticed that. So when my scale broke, I decided to make something beautiful out of it.
It being made of wood made things easier.

What I used:
- a broken scale
- string and ultra strong adhesive tape
- scissors, brushes and acrylic paint

Since the scale was rather heavy, I braided three equal strings in order to make sure that the hanger holds the weight.
Then, I glued the hanger using the adhesive tape (yeah, it doesn't look very elegant).
I used white acrylic paint and a brush for the background.
Pastel and flower were the two words I had in mind when I started this, so I went wild.


And here it is: a colorful painting obtained from a wooden scale.