Pages

September 30, 2017

Ideas for Parties. Pampering your guests.

I recently attended a party. Since I wanted to get involved in the organization of it, I started browsing through the internet for fun party ideas. It dawned on me that the guests should also feel special. Here's what you can do if you want to pamper the female-guests at your party: do make bracelets!
What you need:
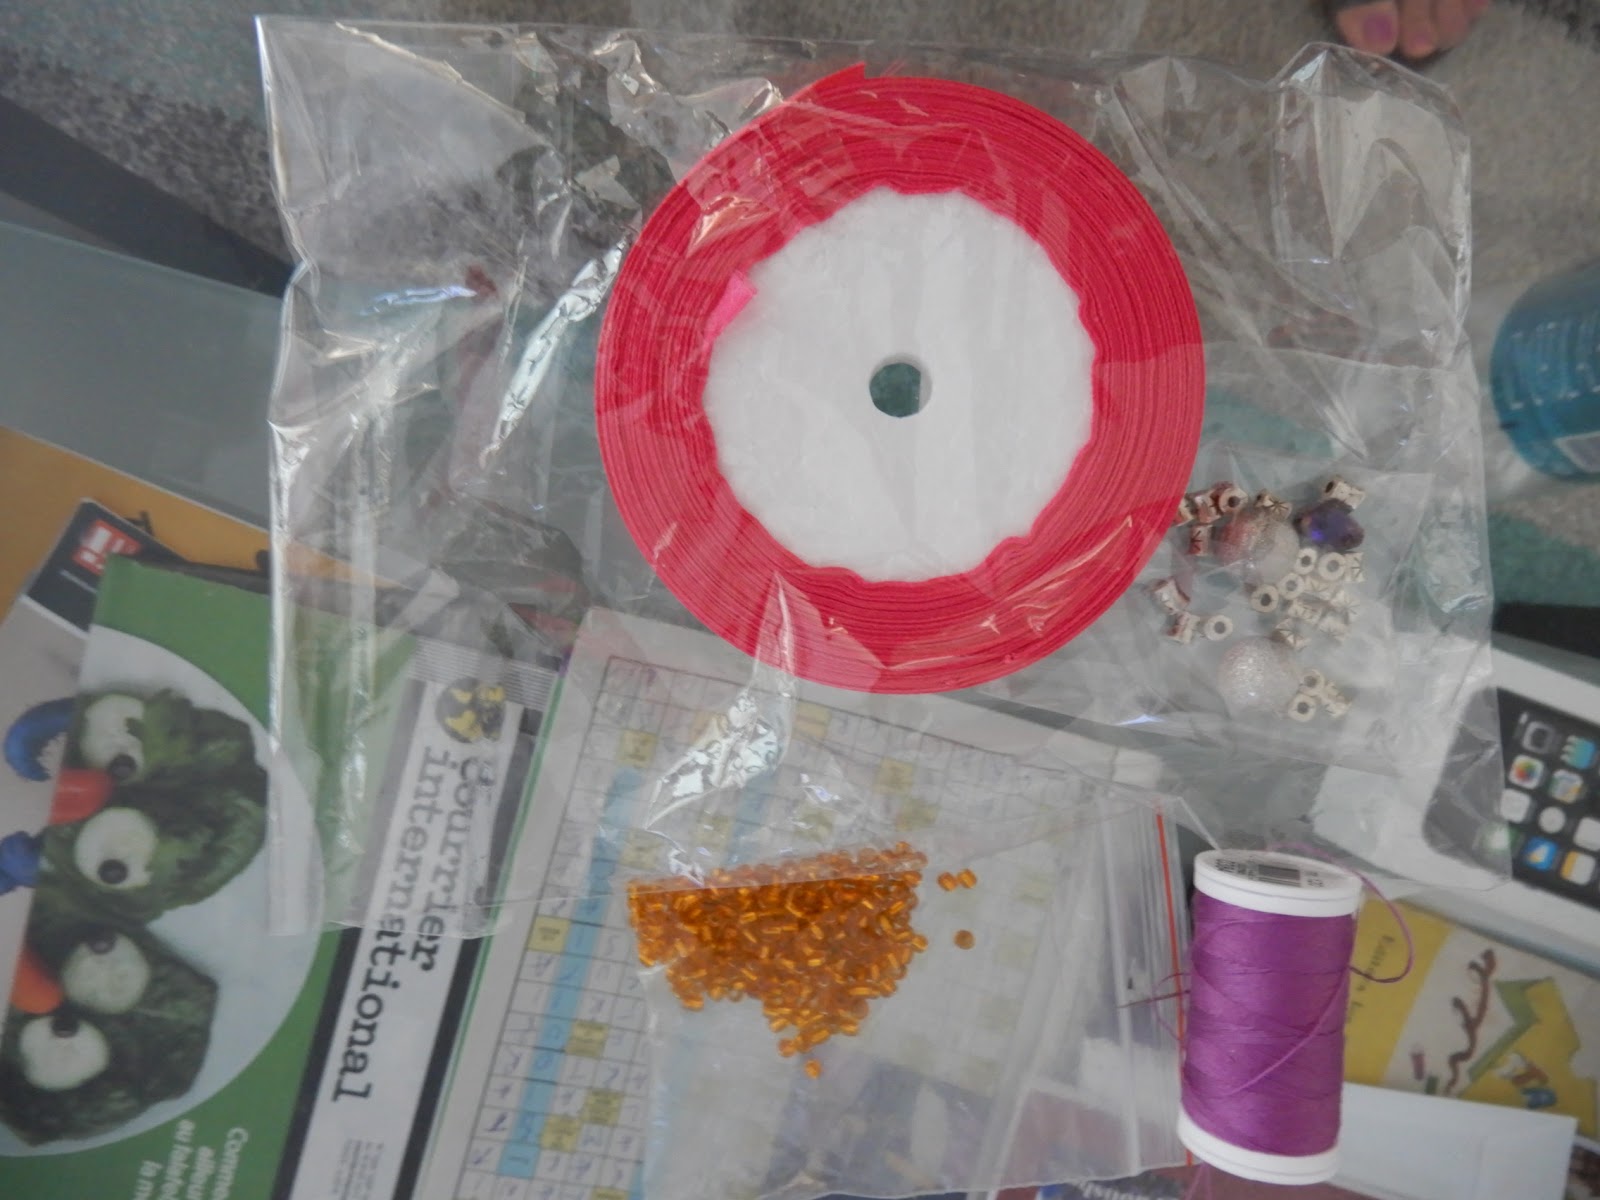
- silk ribbon, scissors, needle and thread, some adornments (you can use beads, buttons or pendants).
1. Cut as many pieces of the ribbon you need. Consider the length. Mine were a little larger than a regular bracelet for I wanted to tie them with a nice bow.
2. Prepare the needle and thread and sew the adornments on the ribbon. If you have more than one adornments, it's better if you sew them together and not in different stitches.

3. Tie a knot when you're done.
4. And you have you're own handmade bracelets for the party.


September 21, 2017

Current Obsession: The Chocker

I have enough left-overs from my projects to support my current obsession :).
Try looking in your boxes of buttons and fabrics. I am sure you can find something there that could easily be turned into a cute chocker. Here's something to inspire you!
Today, it's green velvet (yeah, such a surprise!) and beige suede.
Tip 1: elastic velvet is easier to use for chockers because you don't need to think about clasps.
Tip 2: buttons make fabulous pendants.

The Velvet Chocker
1. Make sure to have enough fabric.
2. Firstly, sew the vertical margins of the fabric. I used my sewing machine, but you could also sew it by hand.
3. Double the fabric orizontally. To be sure, use some pins. Then, sew accordingly.


4. Sew the chosen pendants right in the middle of the chocker.

5. Your velvet chocker is ready.

The Beige Suede Chocker
The fabric was not enough to encircle my neck, so I considered using the fabric as pendant. I just needed some ribbon.
1. I sewed the vertical margins of the fabric and cut two pieces of ribbon.
2. I sewed the two pieces on.
3. And here it is.

I surely hope you will find some inspiration in these chockers.

September 11, 2017

Facelifting to a Bag

Have you ever had a bag that was just perfect?! Well, I have.
And since the fabric started to deteriorate, my heart cringed at the thought of throwing it away. If you're experiencing the same issue, here's how to turn things around in favour of your bag.

 All you need is:
- some fabric (you can go ahead and cover all the bag like I did, or only cover some parts of it) and matching thread
- a pair of scissors
- (optional) a sewing machine
I had some fabric left from my last emerald project, so I decided to use it.
Since I had some already-cut fabric, I did the sewing in different stages. But if you have enough fabric to cover the entire part of the bag, don't shy away.

Advice: the inside must be dealt with at the beginning so that you are not left with raw sides.
Then, I went on with covering the top.

Since I wanted to give it a personal finish, I sewed by hand the back part.


And here it is, my emerald beautiful bag!


September 05, 2017

Inspiration for Fall 2017

The chilliness has settled in. But there's nothing like the Fall 2017 collections to make up for that.

Fendi


Narciso Rodriguez

Oscar de la Renta

Tory Burch


August 18, 2017

DIY Off The Shoulder Dress

I had my mind set on a dress from this fabric for a while.
What you need:
- 1.5 m of fabric
- one of your dresses
- some pins and a safety pin
- a pair of scissors, 1.5 m of elastic

1. Place the dress over the fabric (folded into two) and cut accordingly, leaving about 2 cm for the hem.
2. Cut the fabric into two equal pieces. For the back part, make a deep cut.
3. Overlay the back part onto the front part, and secure the sides with pins. Make sure the right sides are facing each other.
4. Sew the parts.
5. Fold the top edge and sew it, making sure to leave enough space for the safety pin to fit in.
6. I wanted to give the dress an irregular end, so I sewed some pieces of fabric onto the front side and back side. But if you don't want to do that, just sew the low seam.

7. For the back side, I folded some fabric and made two strips in order to make a ribbon.
8. I sewed the strips onto the back side and sewed the low seam.
And here it is